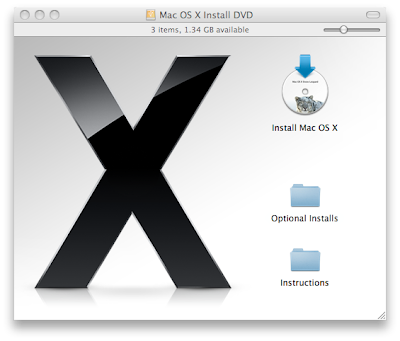
I was deprived off using the latest Mac OS X, Snow Leopard for hours because I didn't know this simplest of features. For some cursed reason my early 2008 white MacBook would spit out the installation DVD after about 15 seconds of making various pitched noises. Nothing I do would mount the drive. Remote installation didn't seem to work either.
Not until I made a quick trip to the nearby Apple store did I find this great tip, and I was able to install the OS with zero hassle. You do need a Mac that can read the OS to start with though to make an installation image. You just don't need an optical drive on the Mac that you are installing it on. This is especially useful for upgrading your MacBook Air. As an additional advantage, the installation is just a tad quicker this way. So, here is what you do,
Restore your installation disk to external hard drive
- Insert the installation disk into the optical drive
- Connect the hard drive from which you want to be able to install Snow Leopard to the Mac (USB / Firewire)
- Open Disk Utility from Applications -> Utilities
- On the left-hand pane, you should see the external hard drive and the installation disc

- Select Mac OS X Install DVD from the list and select the Restore tab from the top
- Drag and drop the Mac OS X Install DVD from the left pane and drop it on to the Source box; Drag the hard drive on to the Destination box

- Remember to uncheck the 'Erase destination' checkbox if you have other things in the hard drive, then click Restore

- The restore takes about 7 GB and you might want to create a partition to have a nice installation drive of its own
- Mac OS X will do its thing, and you should have an image of the installation disc on your hard drive
Now, remove the hard drive from the Mac, and connect it to the Mac that doesn't have an optical drive. The partition should auto-open with the installation disc. Double-click on the 'Install Mac OS X Snow Leopard' icon to start installation!


